

Nobody bothers to have pedicures in winter. Why would we? Our feet are swathed in socks and boots and no one save our nearest and dearest will see them – and who cares if they know we’re part human, part hobbit? But as the days grow longer and the sun gets brighter, it comes time to reveal our trotters to the great Canadian public. And there, we have a problem, or in fact, several: gnarly toenails; overgrown cuticles; dry, cracked heels; and (whisper it), perhaps a tiny bit of toe hair.
We love to start sandal season with a perfect pro pedi, but, if time and money are an issue, you can get your feet close to their best at home. According to Patricia Senft, owner of Yaletown salon The Ten Spot, there are seven stages to a proper pedicure: Soaking; nail shaping; cuticle work; callus removal; exfoliation; massage; and polish. Here are her tips for getting your DIY pedi right.
Soak star
“Removing hard skin and cuticle tissue is much easier and safer after soaking, and it also makes the nail more flexible and easier to trim,” Patricia explains. All this requires is five-minute soak in a basin of hot water, into which you can put essential oils and Epsom salts, or a squirt of nice body wash.
Cut it
Ingrown toenails can cause severe pain and infection. Senft says the key is not to cut the nail too short. “Cut them straight across and slightly round the corners to avoid them poking into the sides,” she says. “Avoid doing ‘bathroom surgery’ at home to relieve pain – see your nail tech for minor bothers and the doctor in other cases.” You can also reduce your risk of infection by disinfecting all metal tools. Senft recommends washing them in soapy water, then popping them in a10 per cent bleach or70 per cent isopropyl alcohol solution for 10 minutes.
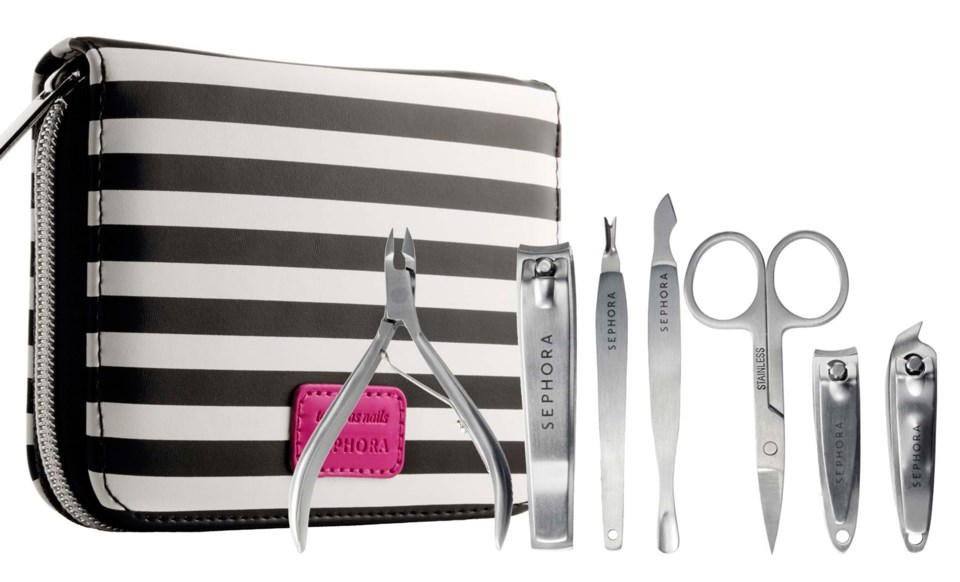 Sephora Collection Tough as Nails Deluxe Manicure Kit, $25, at Sephora. - Contributed photo
To the edge
Cuticle clipping is best left to the experts too, but you can gently push them back, then apply oil to keep them soft and moisturized.
Scrub step
We think baby-soft skin is the ultimate goal of a pedicure, but Senft says the hard callus actually has a function. “Anyone who regularly performs activities that are the cause of their callus (runners or dancers for example) is going to have hard skin. This is there to protect your feet,” she says. She recommends leaving all major removal to the experts – don’t take a blade or callus shaver into your own hands (or feet) – and sticking to gentle exfoliation at home.
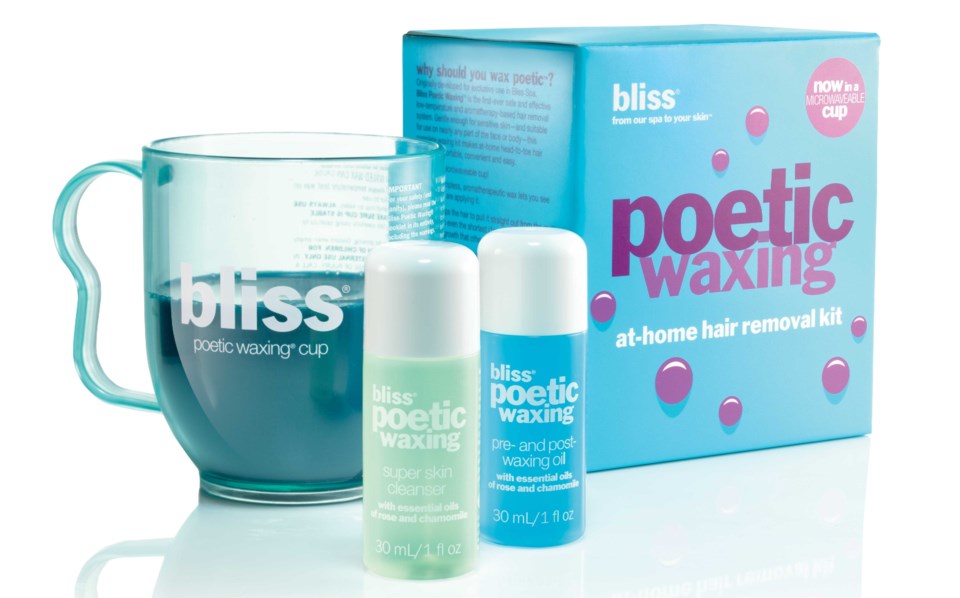
Wax off
When it comes to toe hair, the easiest way to remove it is by waxing. Cut your wax strips to toe size, heat up the wax until it’s a honey-like consistency, apply it to the toe in the direction of hair growth, pat the strip onto the toe, pull it off and repeat till all the hair is gone.
Rubbed the right way
Exfoliating your face preps your skin to receive more moisture, and the same goes for your feet. After you’ve removed the dead skin, massage in lotion or cream.
Paint by digits
Before you apply polish, clean your nail with polish remover, even if your nails are nude – it removes oils that might stop polish adhering. Always apply a base coat – Senft says it’s like double-sided sticky tape to hold your colour. She also says no to shaking polishes because that can create air bubbles that thicken it. And here’s a pro tip we hadn’t heard before: “Don't wait for your first coat to be completely dry to add the next one. Layers should be applied consecutively for the strongest result,” says Senft.


